Georgia Wade
3D Environment Artist
Final Renders
The Process
To start with I did some really quick sketches to get the ideas flowing and the idea of the shop itself being an anvil really stuck with me. After iterating and playing around with different props and layouts I really loved the overgrown feel along with the tent on top as a cosy little place. I kept the workshop outside as real life blacksmiths are often in outdoor areas. I kept the final concepts loose as just a base to have as reference, so i could edit things when modelling if needed.


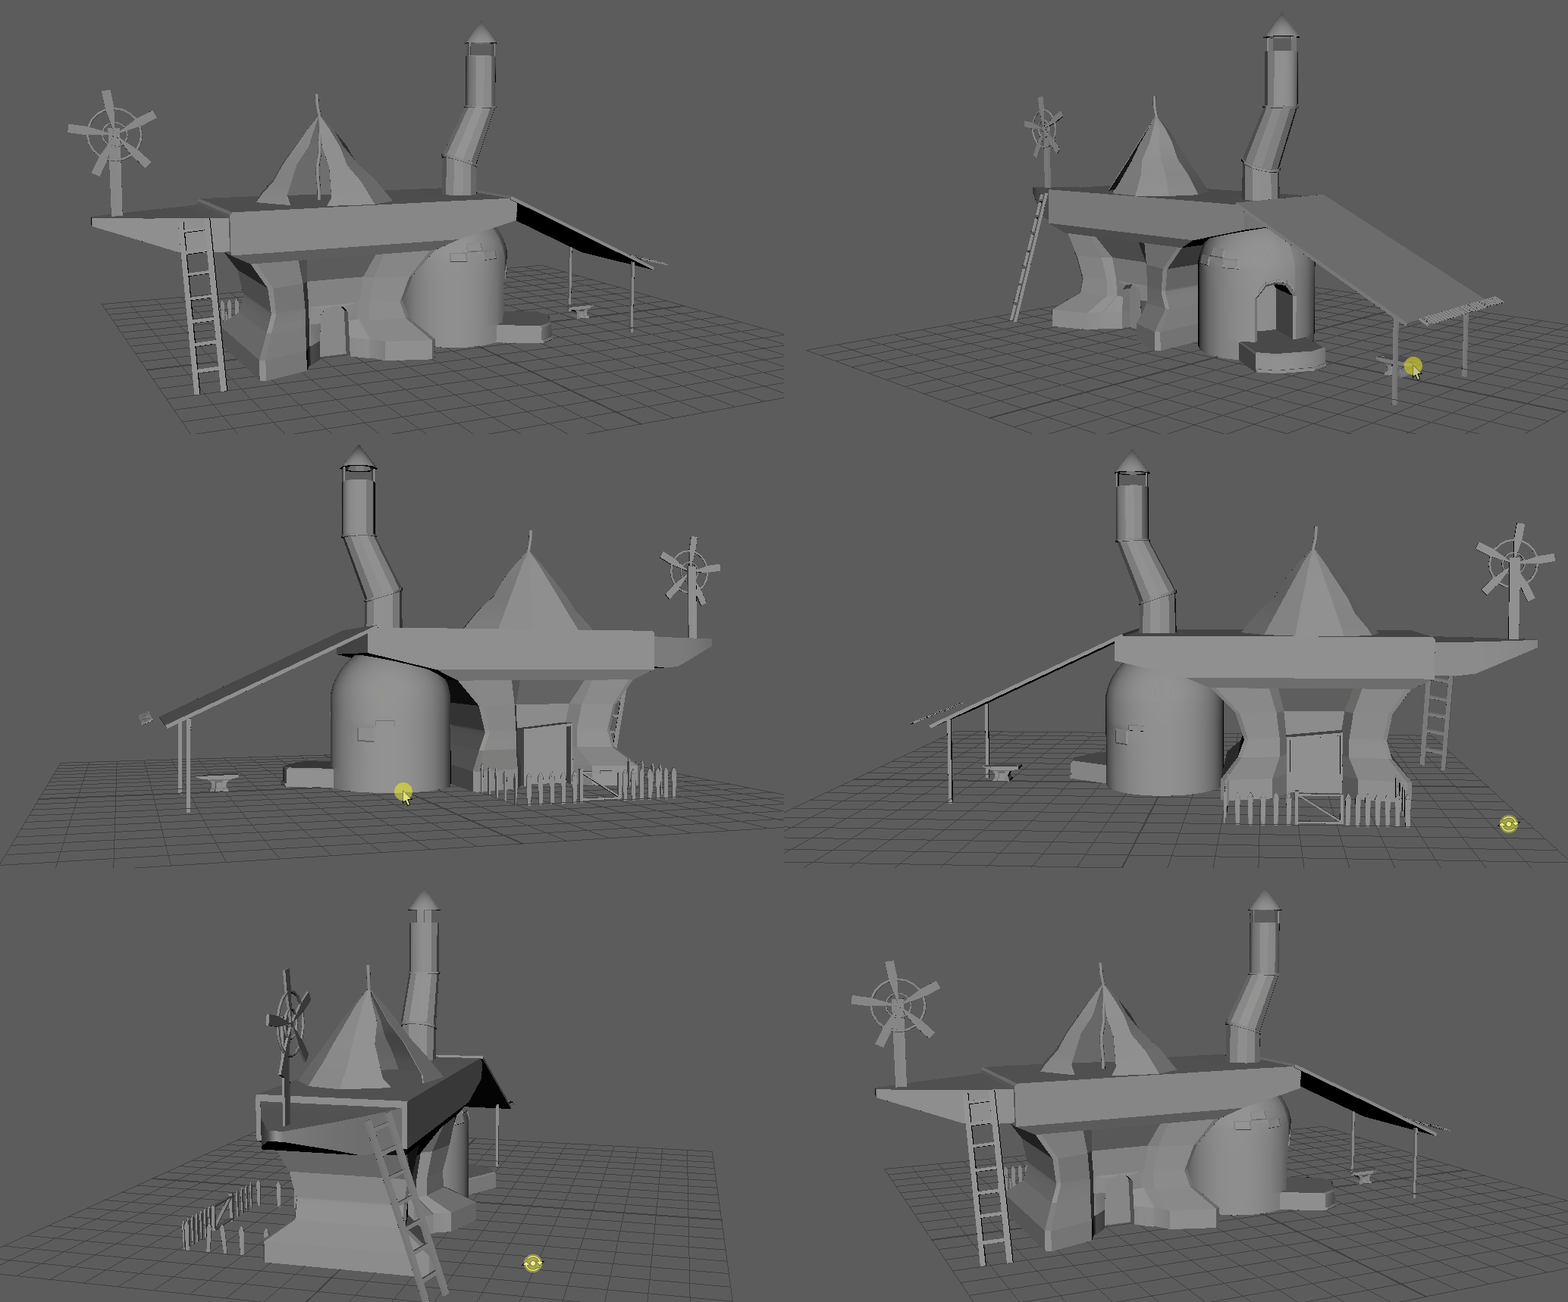
I started off with a really scrapped together blockout just to help lay everything out and see how my concept was working together.
The anvil shape was interesting to try and make but once I had it, i was able to make everything else fit and work around it. Plus, before creating the door shape i could just scale it down for the actual anvil.
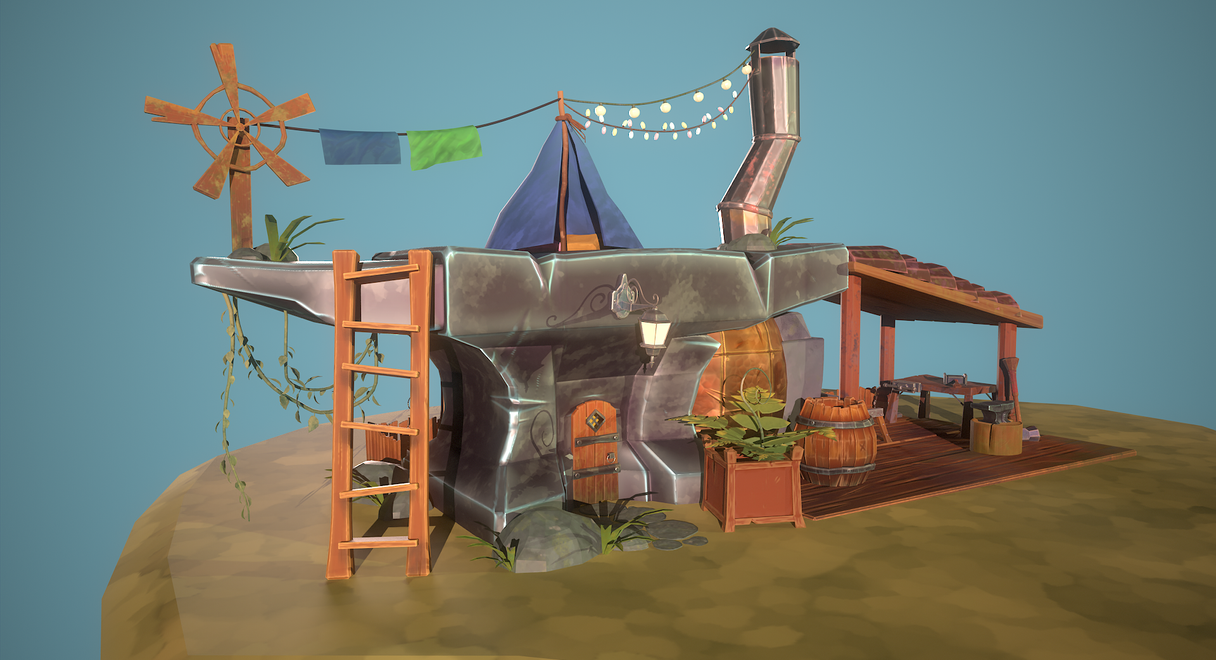
I slowly started to refine some of the details and played around with adding a back wall into the workshop however felt that it closed off the model and wanted it to be visible from both sides. I utalised Ncloth to make the fabric on the washing line. I started adding in smaller details like plant pots and fairy lights to start bringing in some more life to the scene.


I used the lattice tool to really push the basic mesh of the assets, creating interesting silhouettes and more exaggerated shapes. I created bigger gashes where I wanted knowing that I would go in later on Zbrush to create finer detail. Adding in foliage and plants really helped bring life into the scene making it looked more lived in and cosy. I even added an emotional support pig to help me through the process.
Now came my favourite part of this process, the sculpting. I used the free brush pack by Michael Vicente to initially create big scratches and grains within the wood and metal textures. Then using the polish brush to create more beveled edges for light to hit off of. Something i found myself doing often was scoring little X's with the cut tool and then polishing them out to create more unique scratches.


Brushes linked here
For the texturing I simply started off creating base colours with zero metallic map and setting the roughness value to 1, layered up mask editors within substance painter to really push the ambient occlusion and highlights. I really enjoy creating my own shine to the objects as it really gives them that styalised look. Adding fill maps with the blur slope filter helped me create the mossiness at the base of the door, helping the models feel worn and used. I really wanted to keep the colours vibrant to make them stand out and push the texturing.


