
Georgia Wade
3D Environment Artist

Check out the Itch page!


I've linked the brush pack here as it is free to get and perfect for anyone wanting to achieve a styalised sculpt.
One of my proudest models from this game is one of the planets I sculpted. Starting with a sphere I used the mask tool in zbrush to scale the swirly ridges up from the rest of the model. Then coming back in with Michael Vicente's orb brush pack, i started to polish hard edges to achive a styalised sculpt. Then slowly creating smaller details such as scratches and imperfections in order to create more interest.
Environment Art
I was one of two environment artists on this project. I was tasked with modelling more organic models such as the planets and asteroids. I used highpoly to low poly bake approach so as to produce styalised models without putting strain on the project.


After my team and I were happy with the final sculpt I started retopologising in Maya. By this model I had retopologised a few other models so by this stage I was trying to keep the geometry even and flowing.
If I were to do anything different revisiting this model I would have perhaps tried to separate the swirls to the base of the planet more as this would have saved time later on when texturing.
For the uv's I tried simply made a loop around the model to split in two as i had already planned to utalise masks whilst texturing.
Texturing was my favourite part out of the entire process. From baking to playing around with colours.
I started by masking the swirls and utalising folders so I could freely play around with generators and fill layers. I mainly used mask editor to build up layers of colour creating depth and gentle highlights. Towards the end I used a metal edgewear layer reducing the grunge to zero, leaving me with a strong highlight.


Using the same highpoly to lowpoly baking workflow and similar texturing i created more models to be used as resources and obstacles.
UI Art

A lot of my work on the UI was creating shapes to act as a base for information and pop ups such as this!
A few weeks into the project I took the lead on the UI design, working closely with the programmers and designer to produce UI that not only functioned but matched the rest of the game. I used a mixture of 2d animation and illustrations to try and bring more personality into our game and characters.

I started with a really rough animation made using procreate, then refined the frames in photoshop.


Then utalising flipbooks in unreal I brought them into the scene using the paper actor.
Because our game was a top down view of the characters we wanted other ways of showing personality to bring more life to our characters. So creating UI of expressions to put next to health bars during the minigame phase really helped with showing more about bubble and squeak.
Concept Art
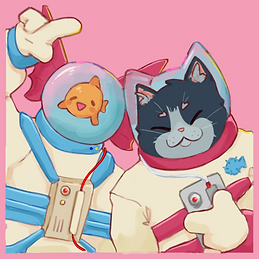
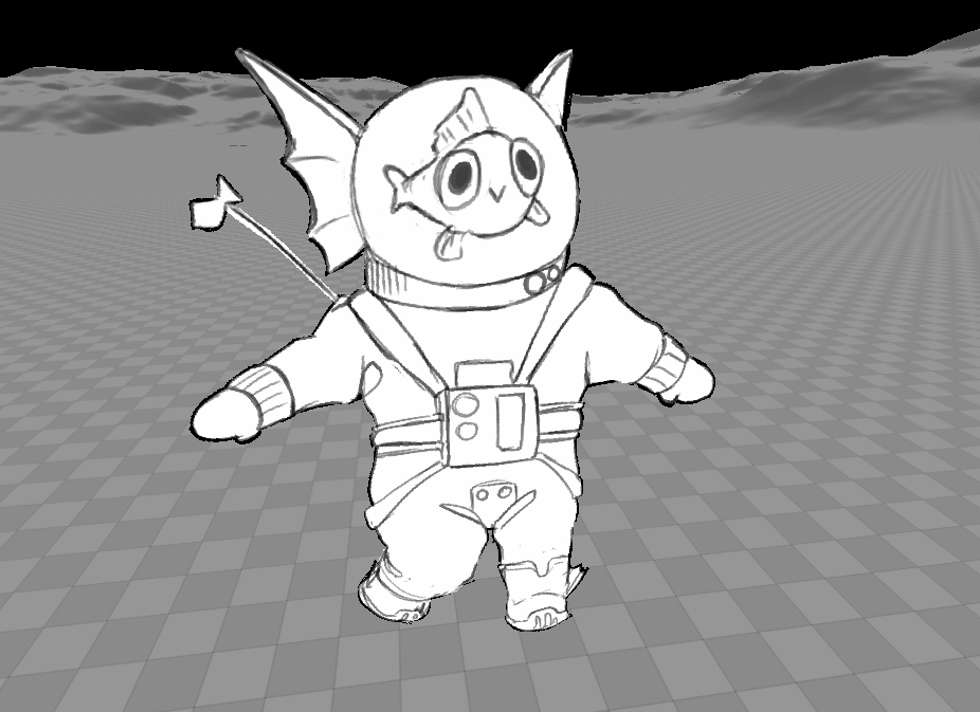
Very early in the project before there was any environment art to do, I had the task of concepting one of our player characters, Bubble, due to the fact that we had no concept artists.
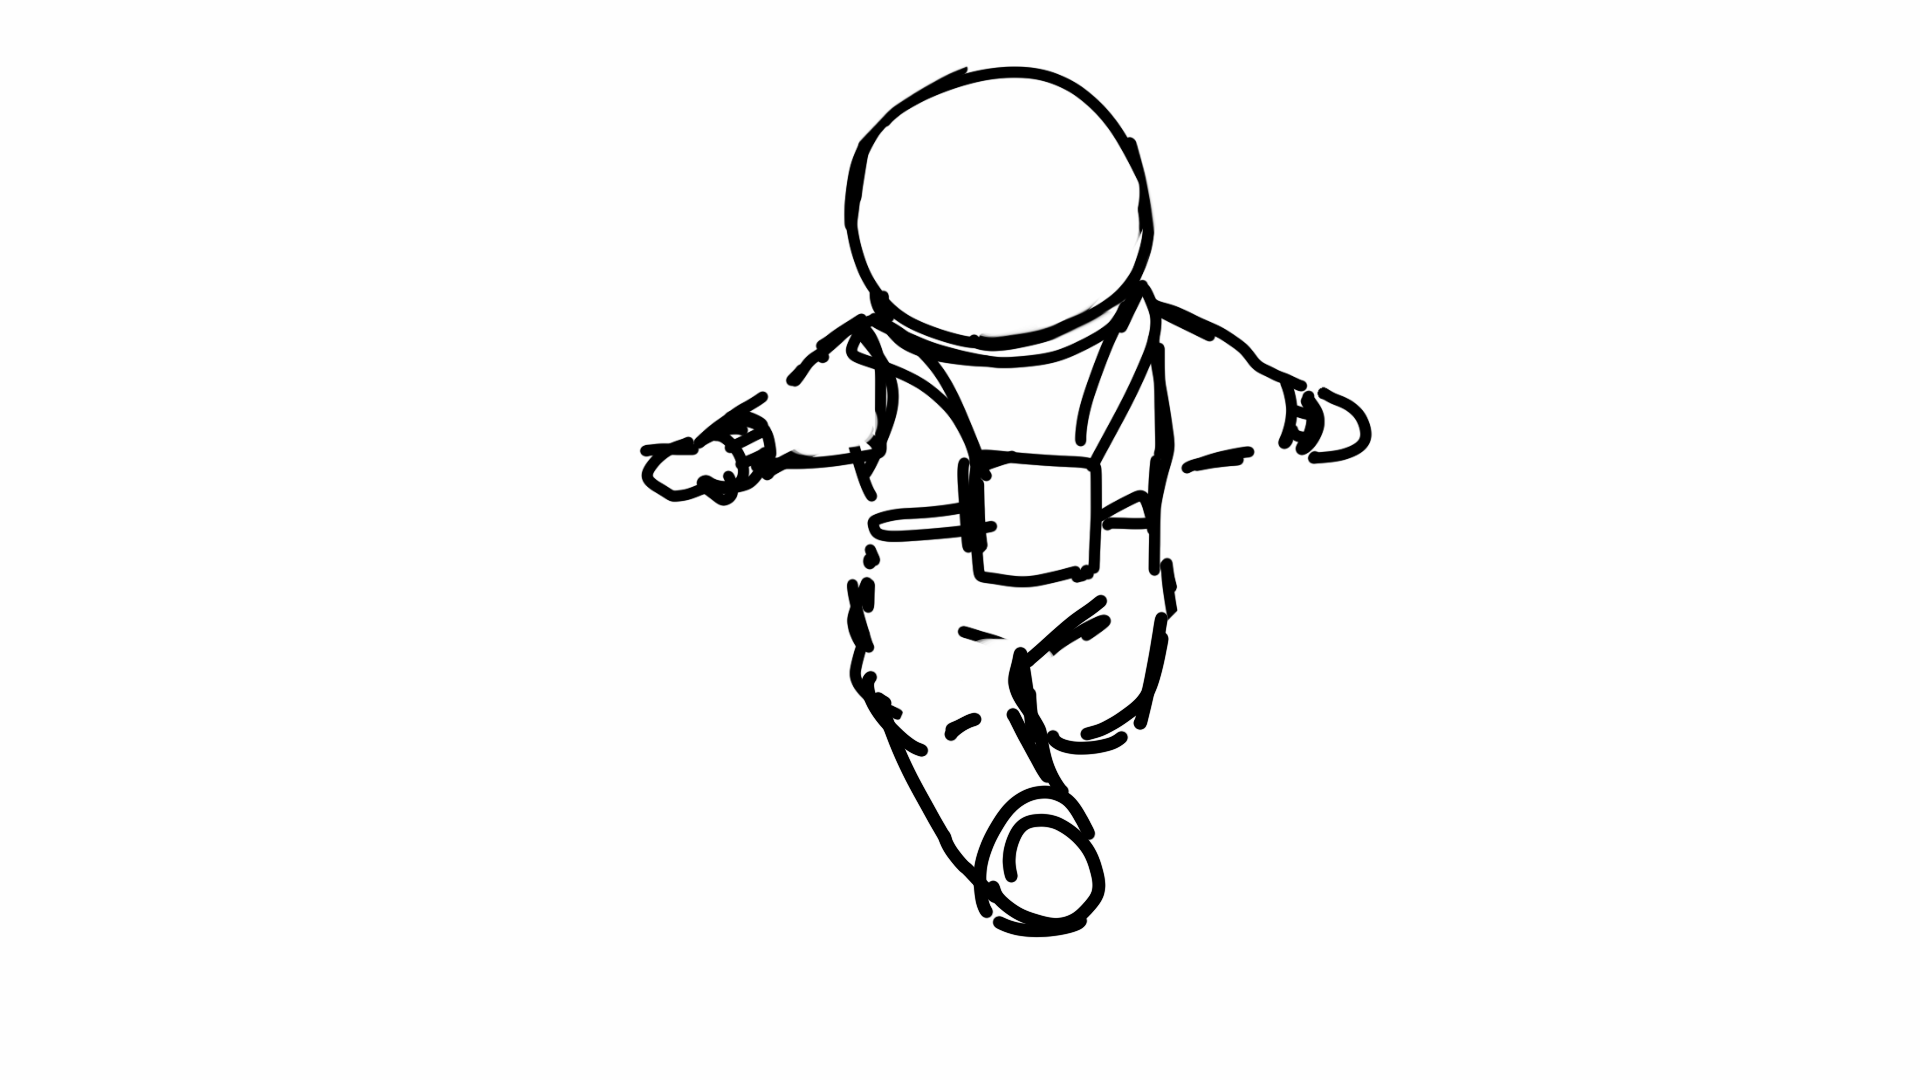
I started off by creating some unique silhouettes, trying to find the kind of overall shape we wanted. Two were a no from the start for animation purposes. But the team ended up really liking 4 especially since there was a lot we could explore with it.


Bubble went through a lot of iterations using different combos to see what people preferred. I kept checking silhouettes throughout the process to help keep it interesting. Because bubble is a fish i wanted to have little motifs in his design to give a little more personality.


Towards the end of the process I explored a little with colour, however because customisation was going to be a key feature we felt it easier that we explore colour schemes during the texturing phase of the process. During the process of 3d modelling we gave our character artist permission to change a few things as they were modelling. Overall The design of bubble turned out as a good base for our artist to improve on.